
It’s summertime. With working all the time I try to find fun things that are cheap and easy to do with my girls during the summer. N is 10, T is 7, and H is 5 … this can sometimes make things quite difficult to find something that everyone enjoys doing and brings my craftiness into the mix.
As H and I have been scrolling through TikTok (one of our favorite hobbies) we came across hair wrapping. I was amazed because I remember hair wraps being big in middle school …. Maybe high school …. But haven’t seen them in YEARS. We watched a few videos and decided to give it a try! So here is how we did it step by step … and what we learned along the way!
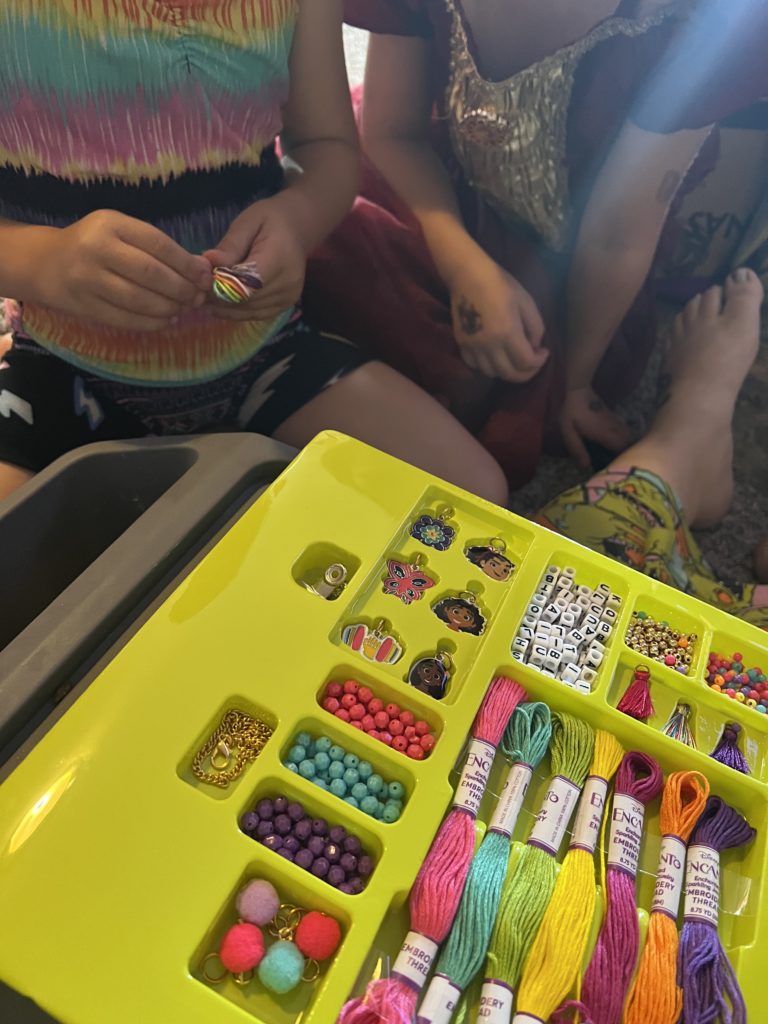
1. Get some embroidery string (super cheap if you need to buy it … I think someone told me it was like 50 cents at Walmart). We happened to have a bracelet making kit on hand that had some in it. H picked yellow, teal, and pink. T picked orange, yellow, and a darker pink.
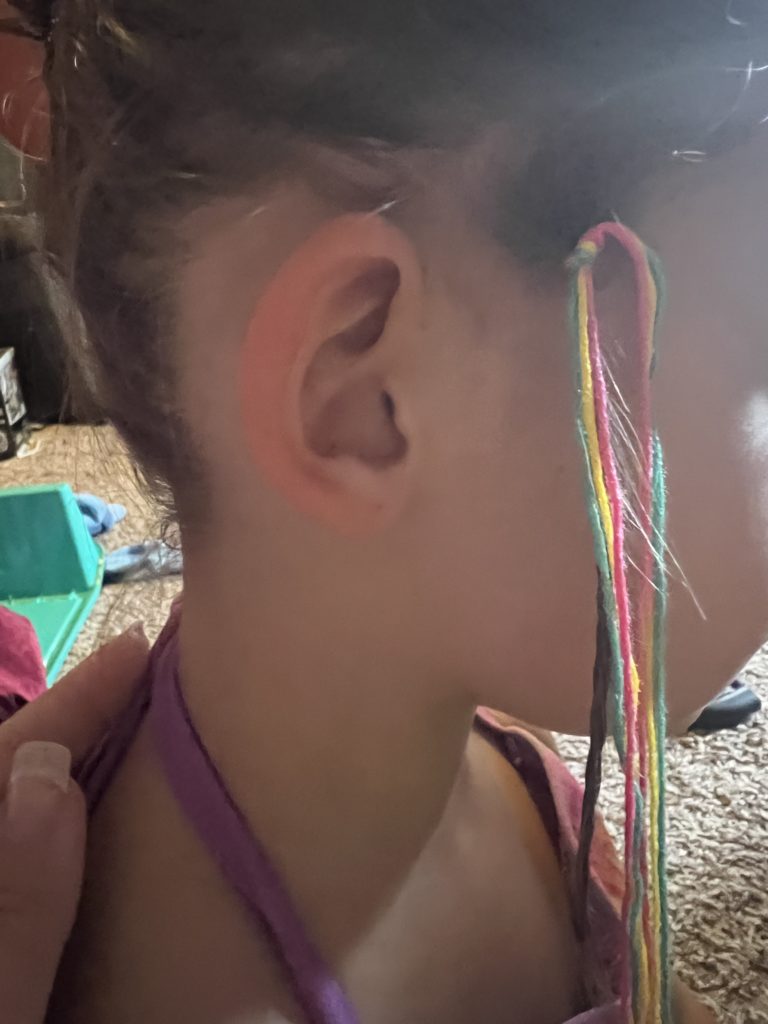
2. Find a smaller chunk of hair wherever you would like it. We did it right in front of the girls ears since their hair is quite a bit shorter and they still wanted to see it.
3. Cut your string … make sure it’s like several times longer than the piece of hair you’re wrapping. This is where I think we missed up a smidge. H’s seemed to be plenty long enough, but I thought I got even longer pieces for T’s but for some reason it just wasn’t enough (we made it work though!)
4. Braid your piece of hair. This I HIGHLY recommend doing. I did it on H’s but not T’s and I could see a BIG difference when trying to wrap the hair. We just braided the small piece of hair until I couldn’t braid it anymore and just let it go.
5. Tie the strings at the top of the braid as close to the scalp as you possibly can.
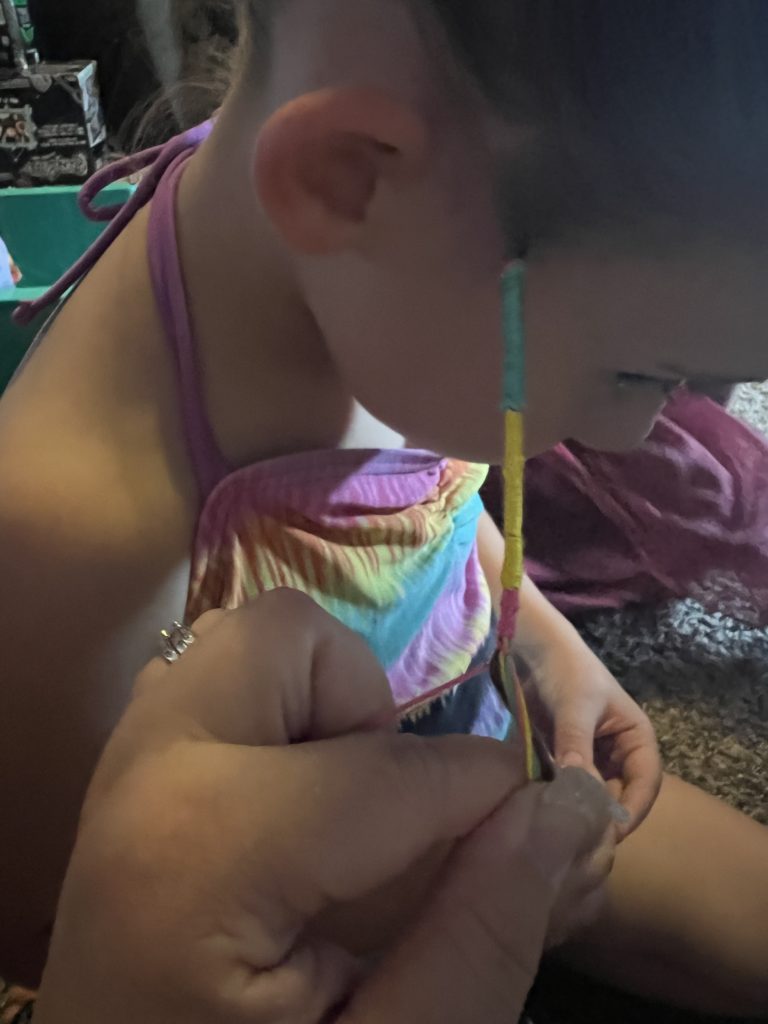
6. Grab one piece and start wrapping! When you’re ready to switch the color just tie a knot in the current color and then start wrapping with your next color! It was a little tricky at the top but I finally got a good routine and hand motion going and it became a lot easier as I went.
7. Once you’re at the end of your hair piece keep going for a bit. From what I’ve seen and read it will make it easier to take off (you can cut the end without cutting the hair) and unravel from there.
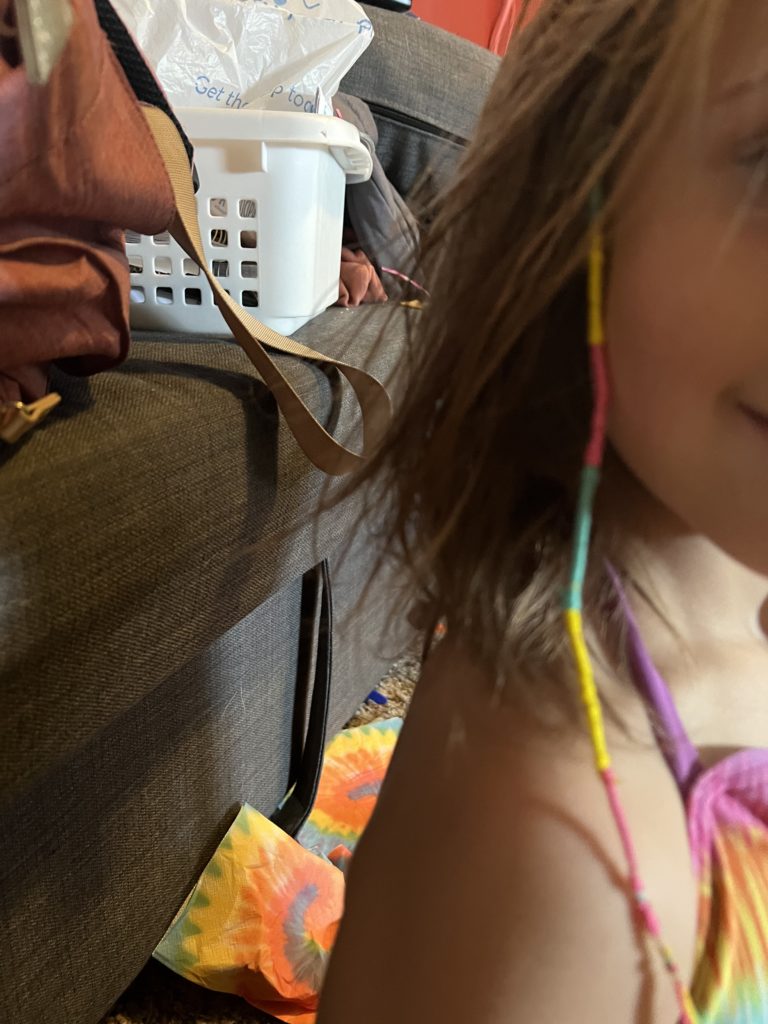
8. Braid the strings together for the last little bit and then tie it off! And voila! You have a cute hair wrap that SCREAMS summertime fun!

Now it’s your turn! Tell me some fun summer things you like to do in the summer with your kiddos!

0 Comments